
Self-healing
Technology from the future.
A clear step-by-step guide for applying hydrogel screen protector film, UV hydrogel film and camera lens protector.
Technology from the future.
Professional protection against prying eyes.
The meeting of elegance with the perfect visual experience.
Turn off the device, then thoroughly clean the display with a microfiber cloth and cleaning solution or a wet cleaning wipe.
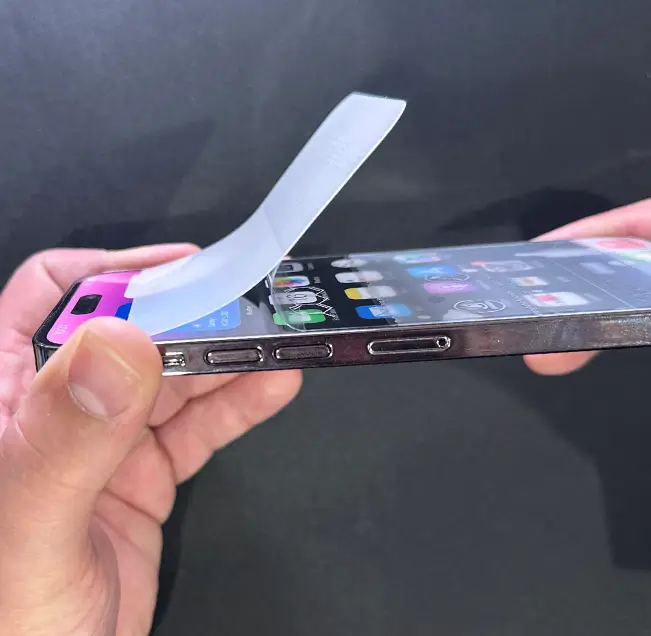
Separate the backing layer from the hydrogel film. The easiest way is to slightly bend it at the edge.
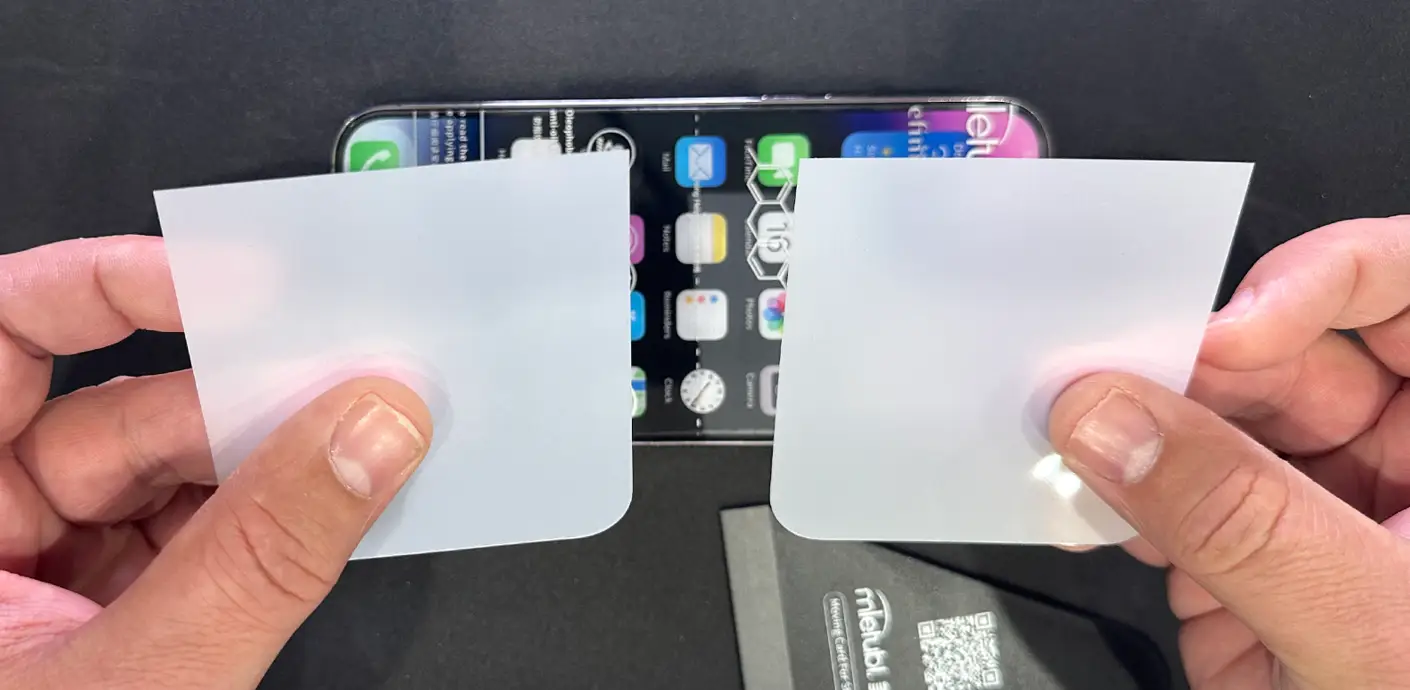
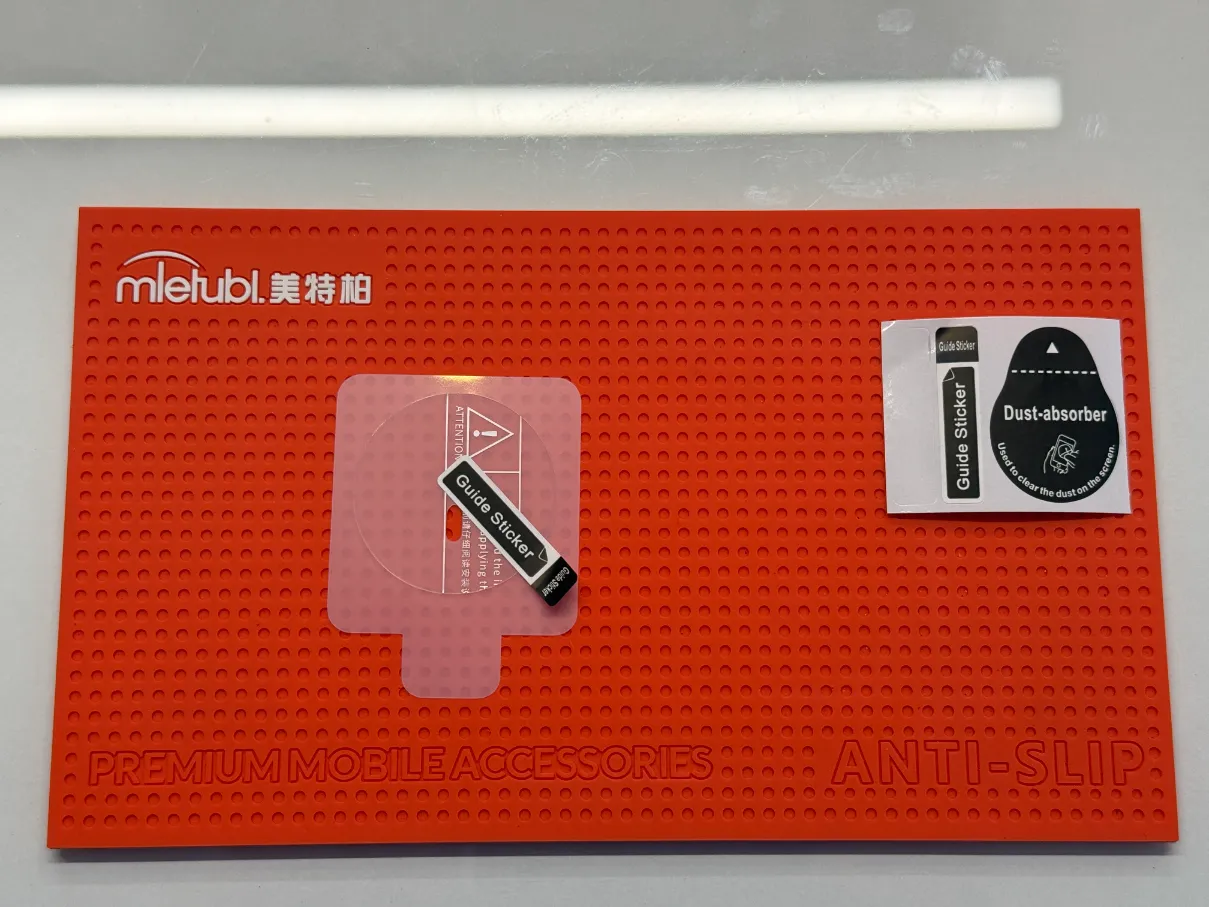
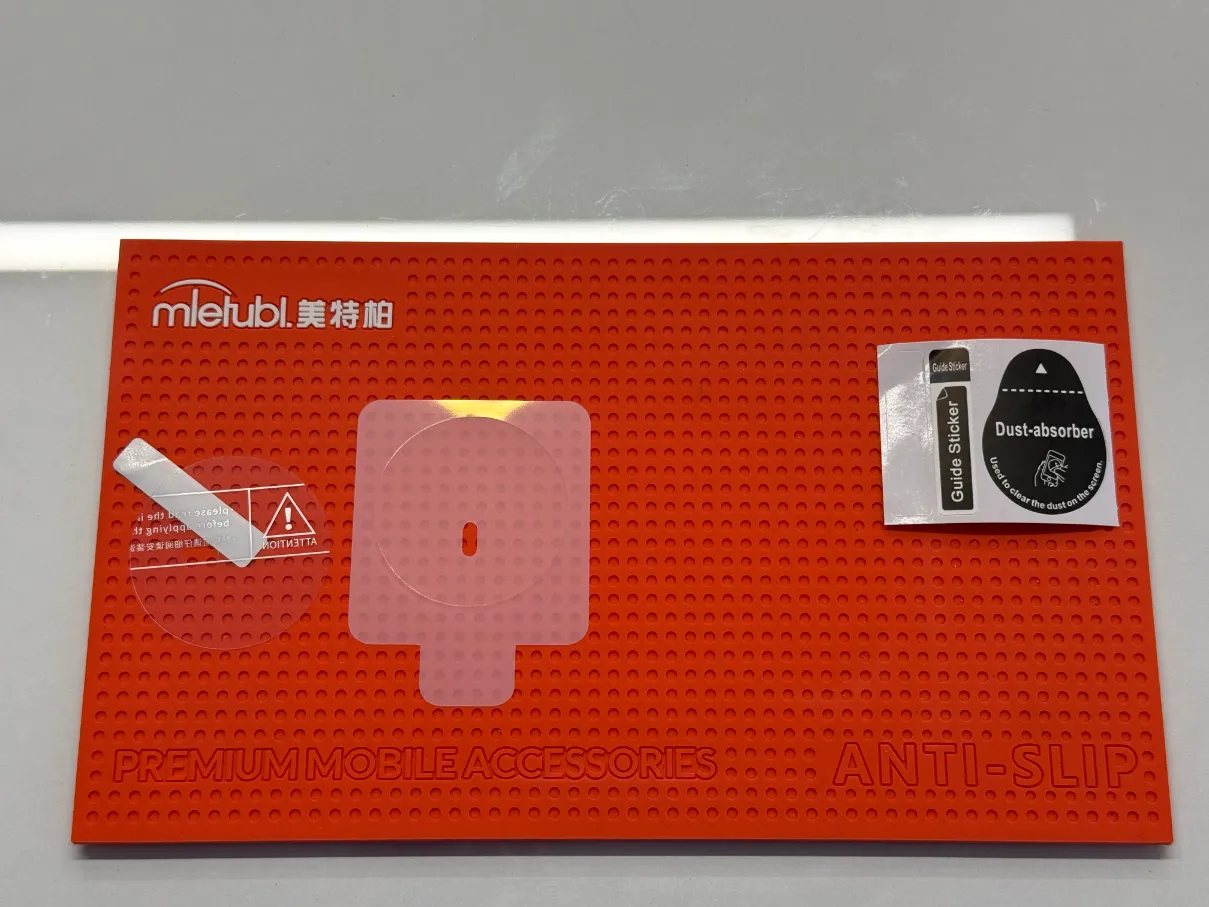
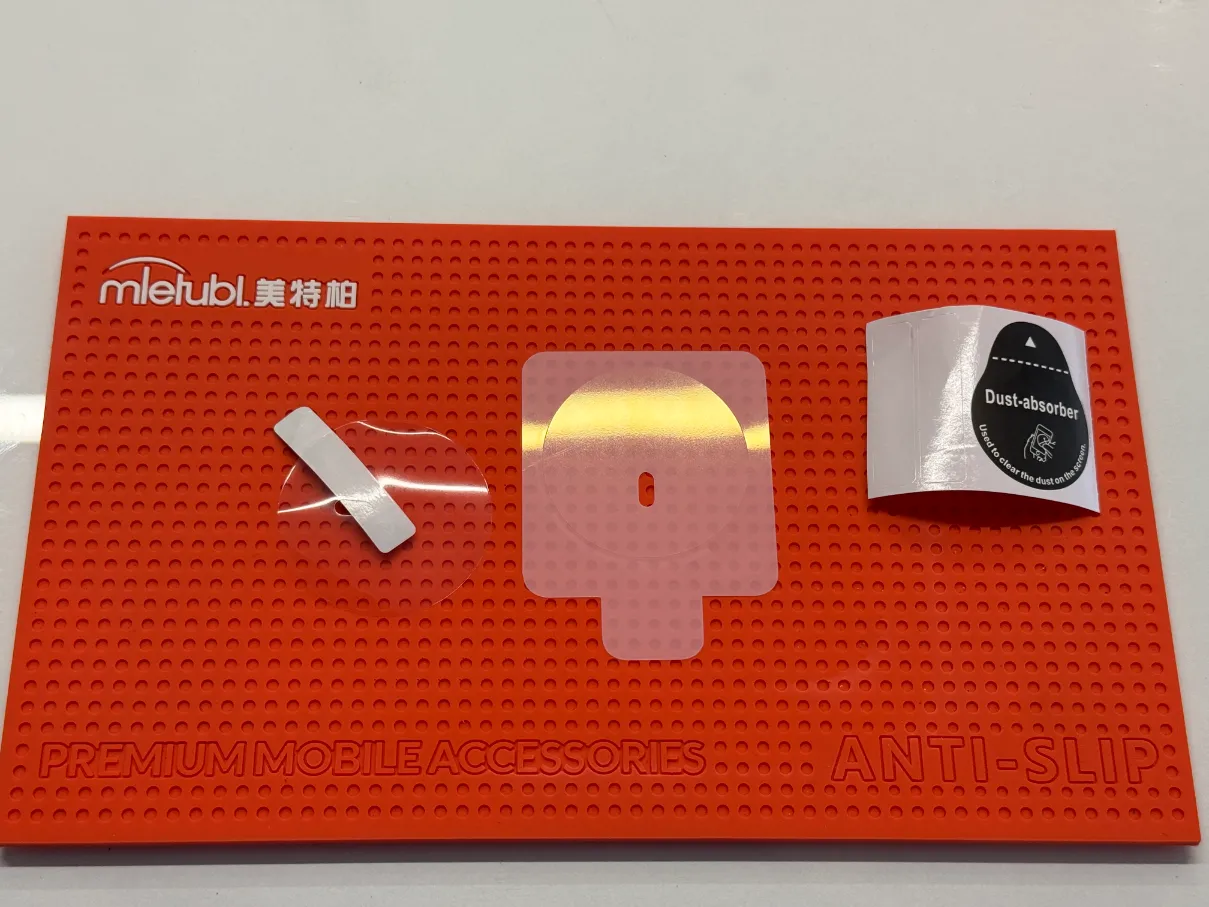
The separated film has three layers: a two-part protective layer on the back, another protective layer on the front, and the hydrogel film between them.
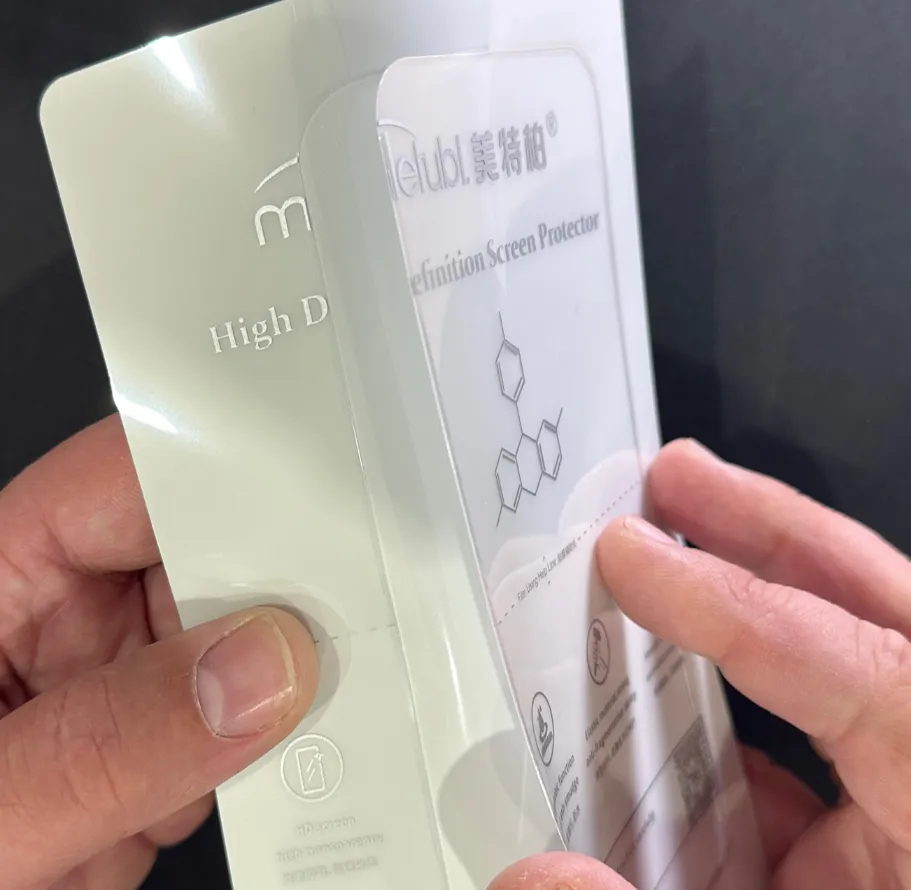
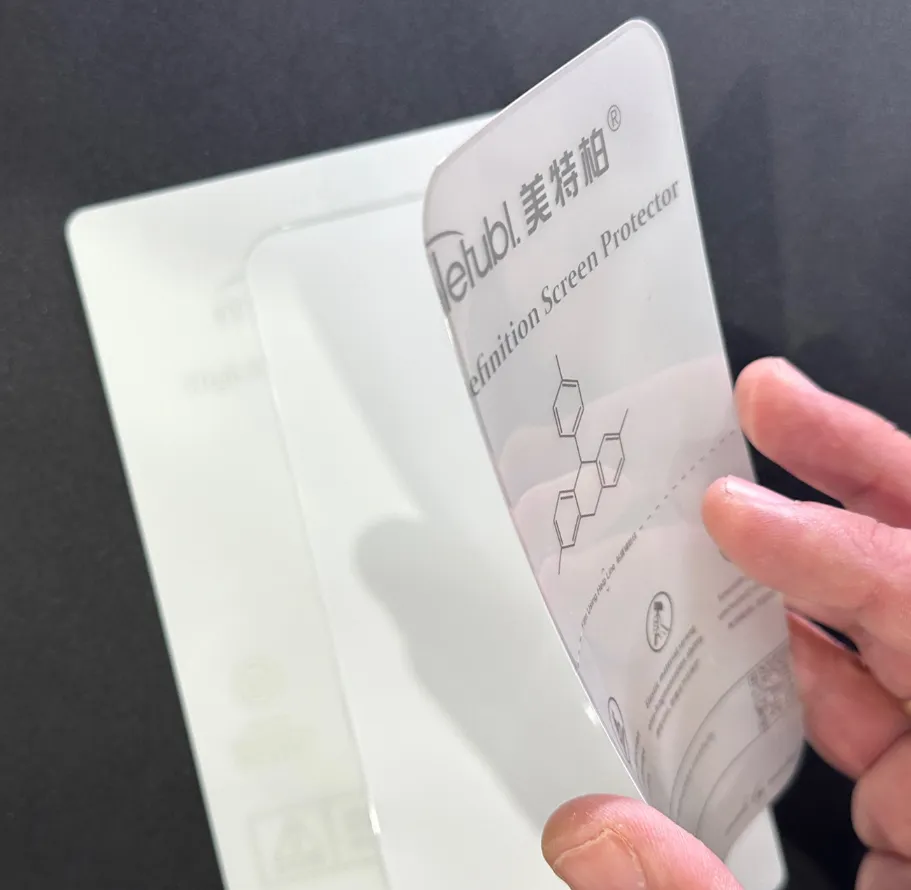
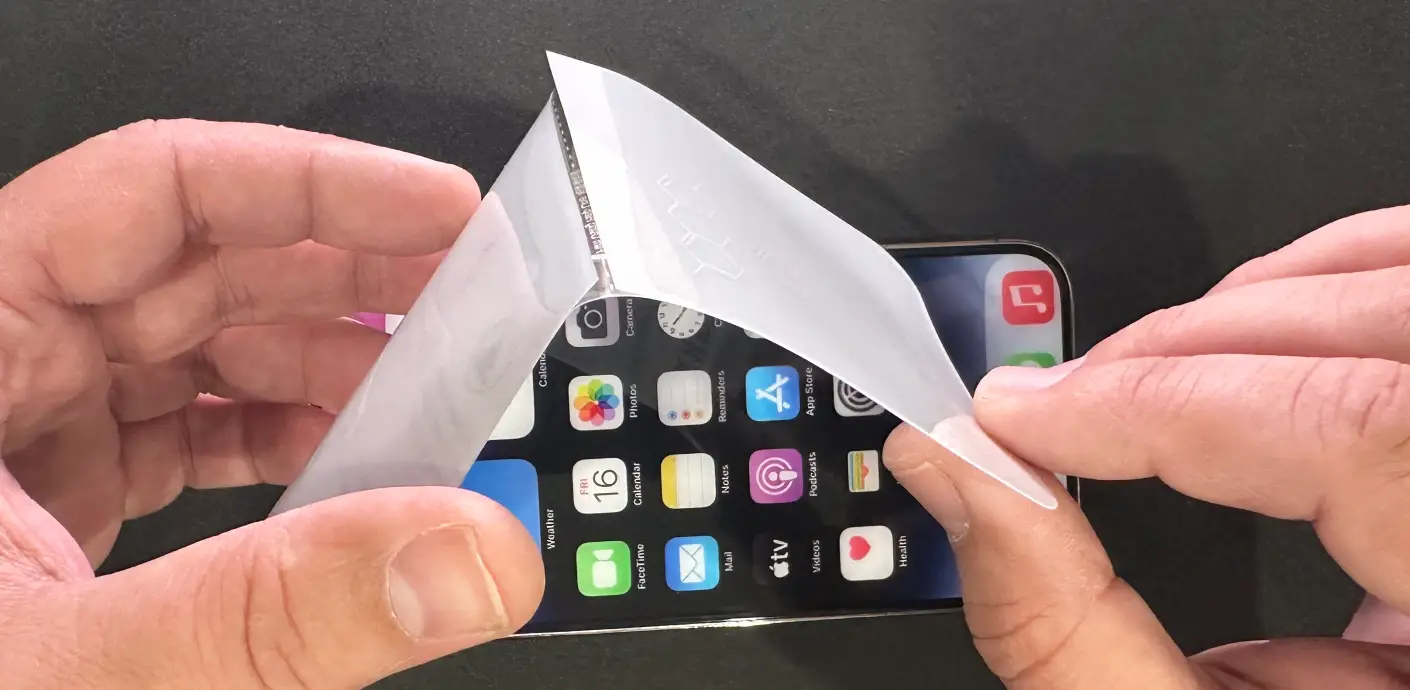
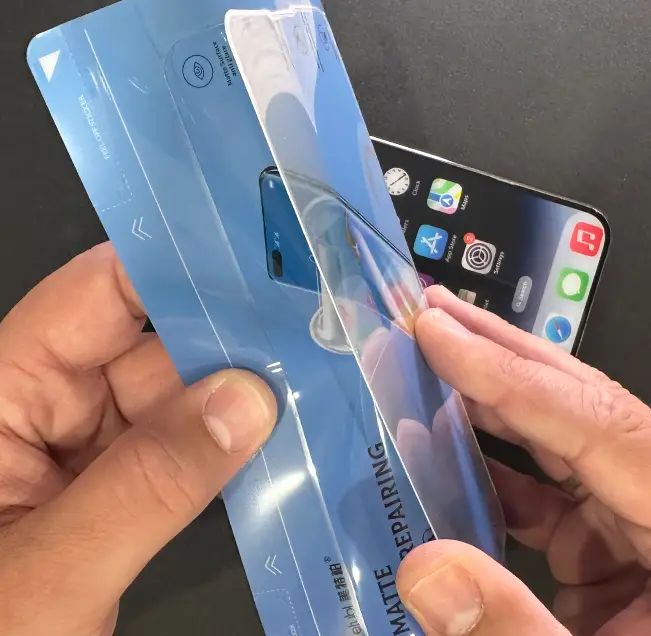
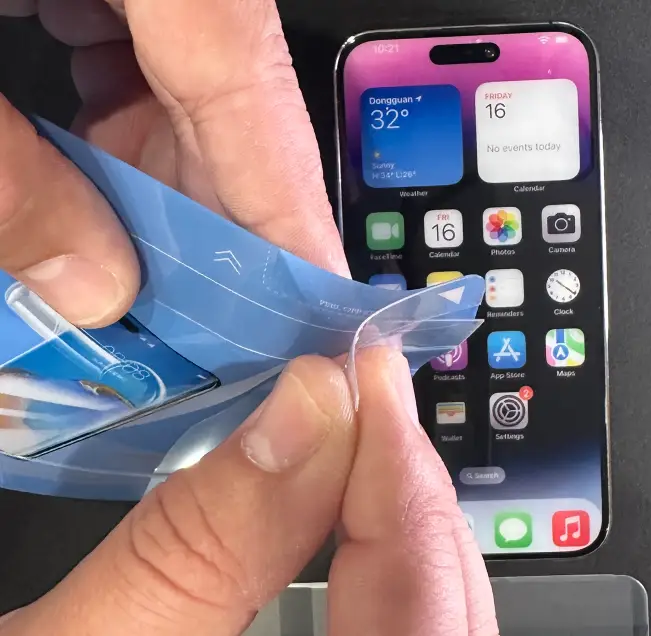
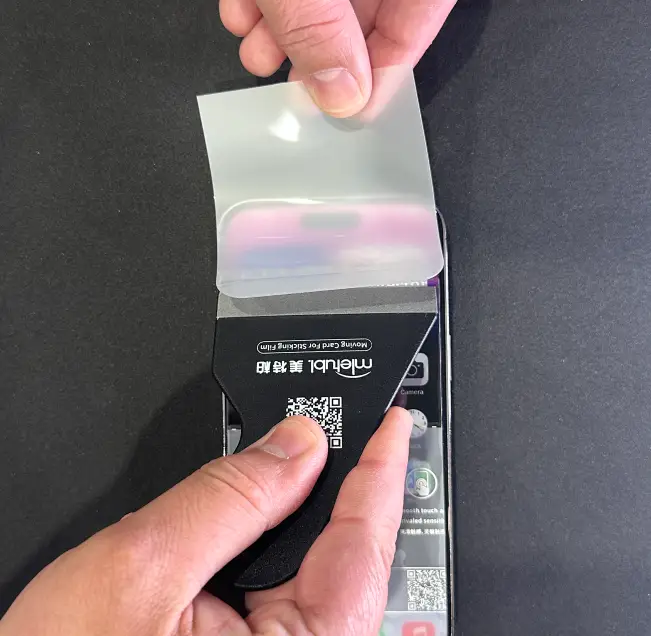
Place the hydrogel film on the display exactly as you removed it from the carrier layer. Do not press it down yet; position it gently and align it carefully.
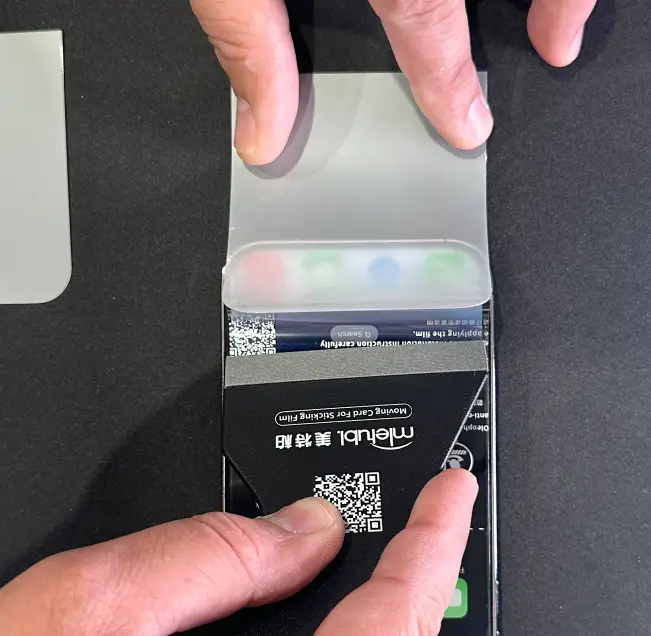
Once it is in the correct position, press the center guide line with a plastic squeegee. Fold back one side, then apply the film while removing the bottom protective layer. Repeat on the other side.
If air bubbles form, use the squeegee to gently push them out from under the film. Move slowly and carefully to avoid creating new bubbles or damaging the film.
Drag the squeegee along the edges to make sure the film adheres firmly everywhere.
After successful application, leave the film for at least several hours so it can fully adhere to the display.
The film has an outer protective layer. Carefully remove it starting from one corner. You can use the positioning stickers during removal: attach one to a corner and gently peel off the protective layer.
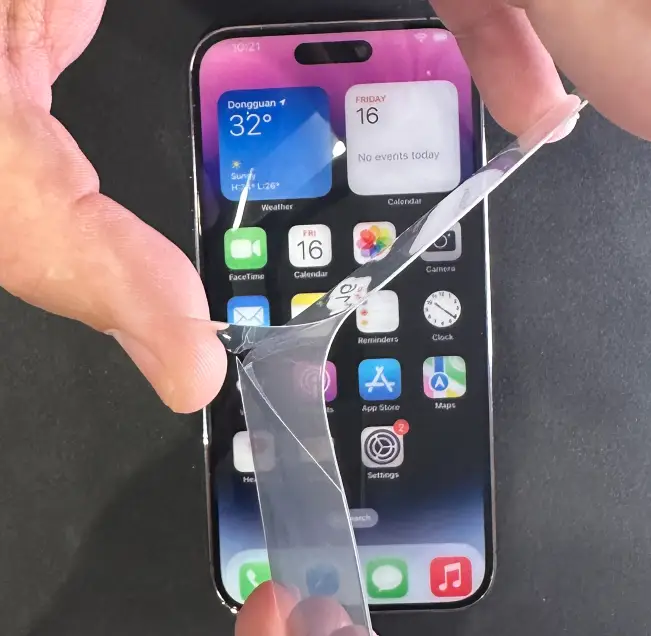
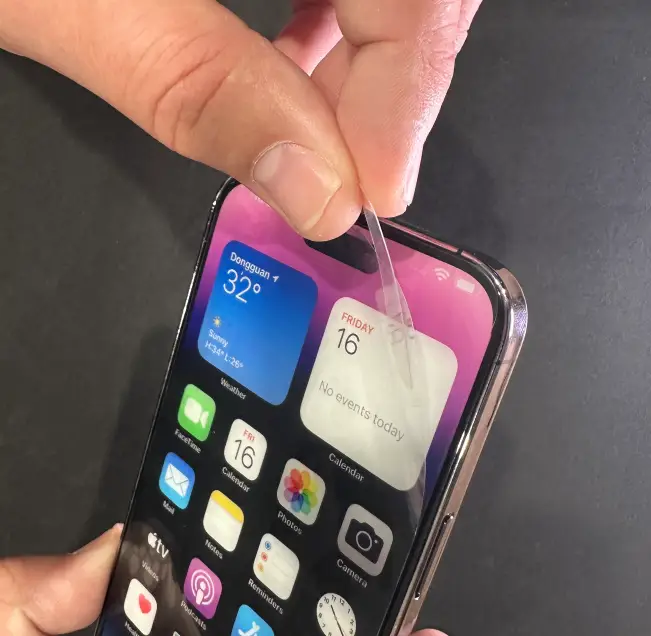
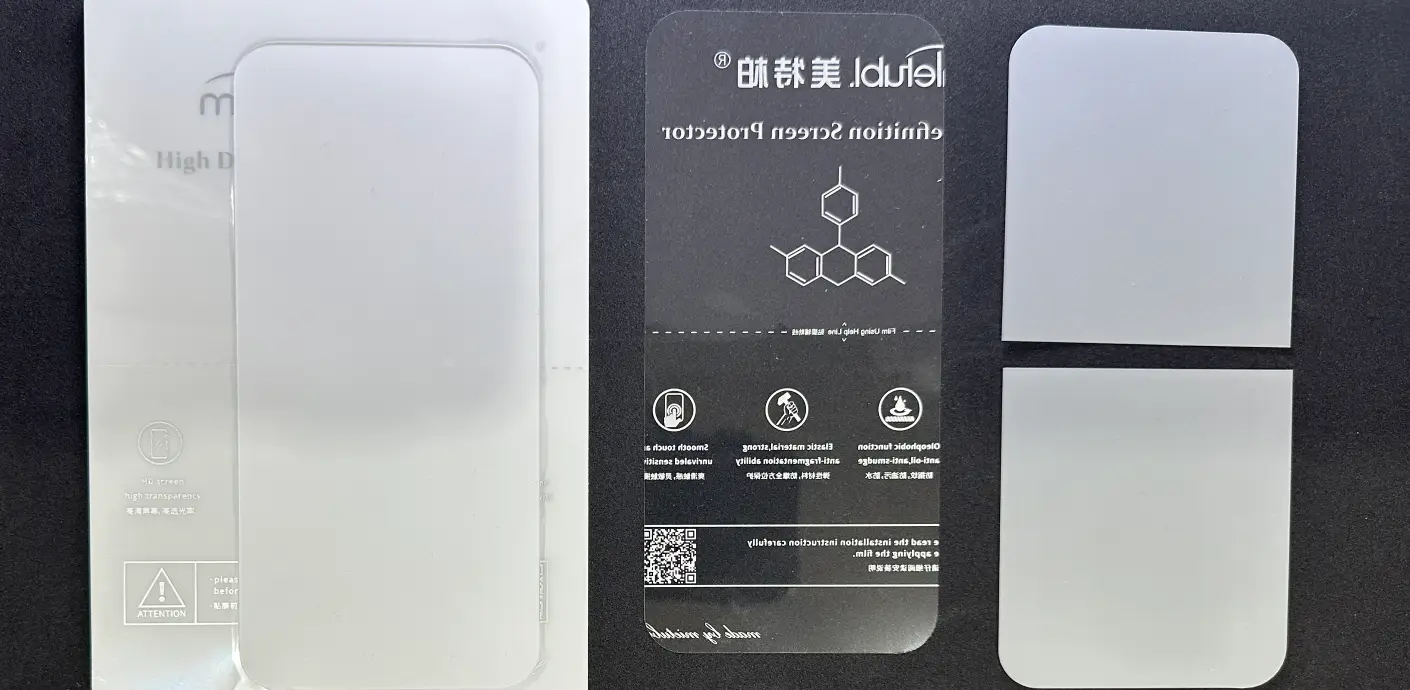
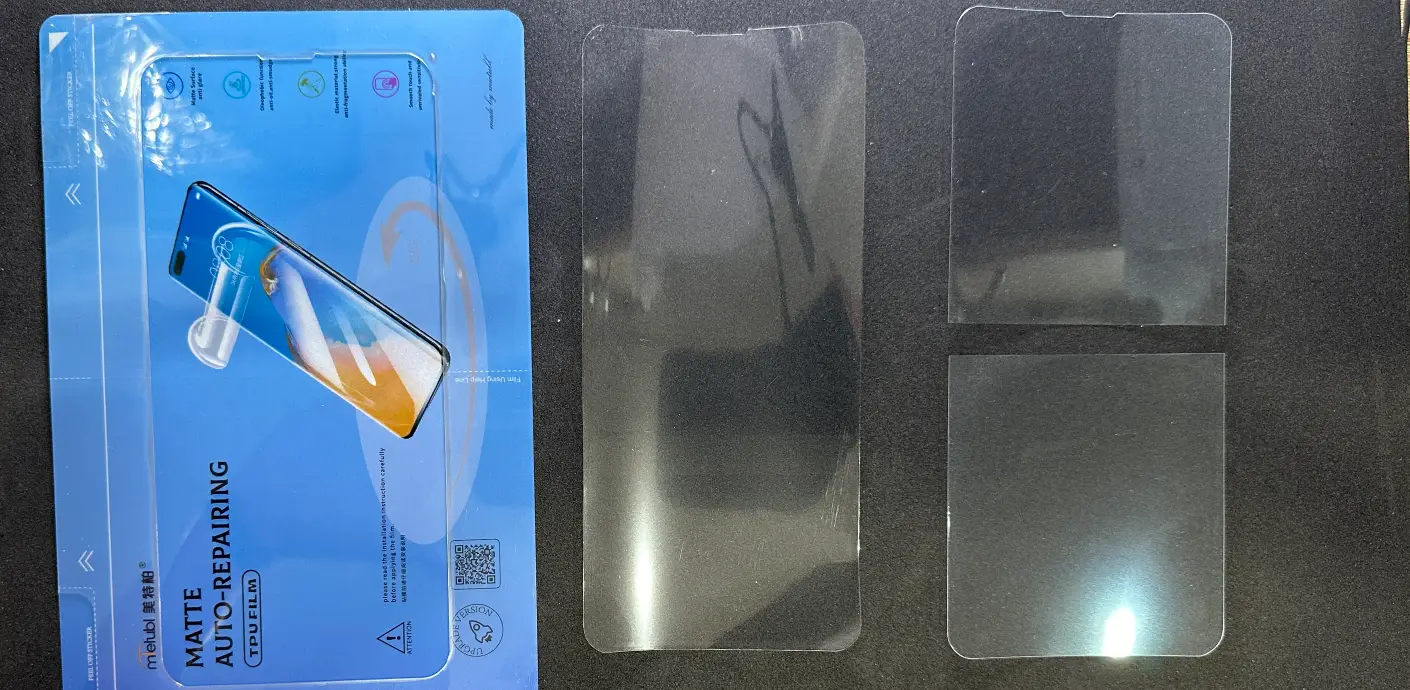
To install UV-curable film, first follow the steps above. In the final phase, the film must be exposed to UV light to start the curing process.
Perform the illumination in sections: divide the display into at least three parts and illuminate each section for 5 minutes.
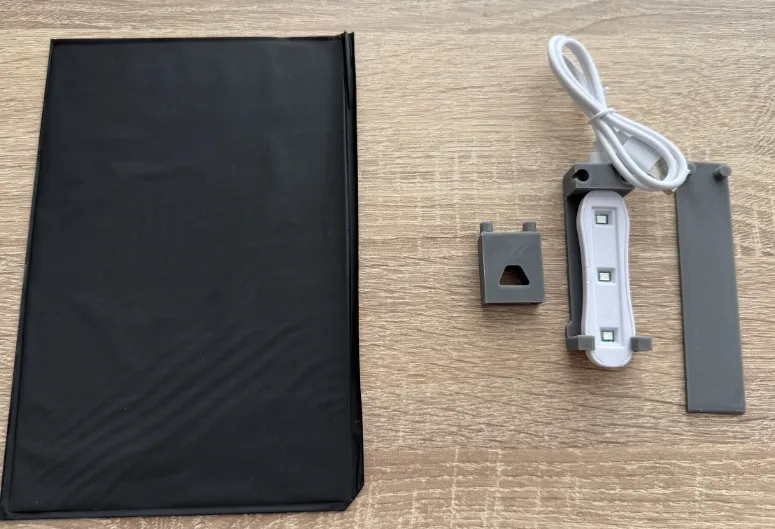
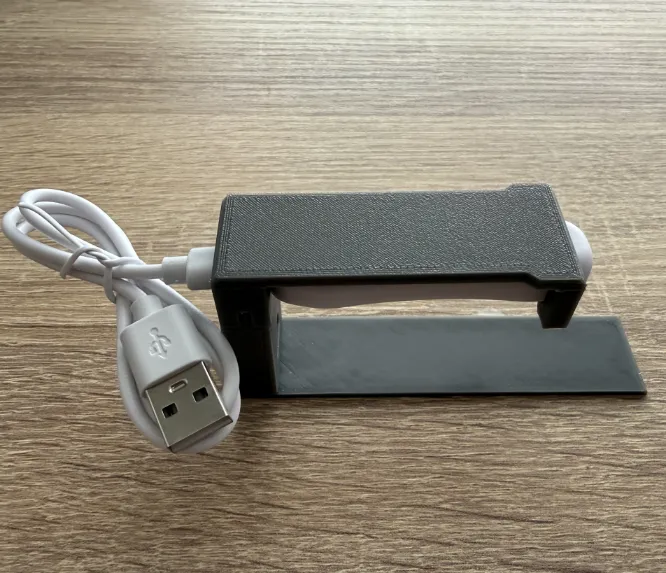
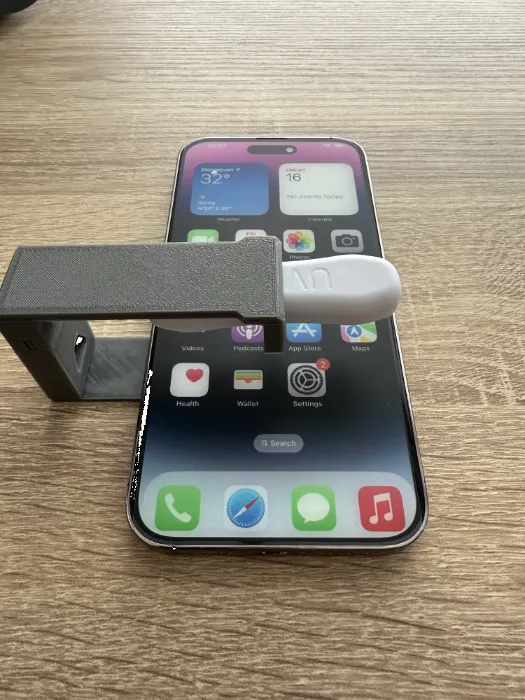
If you ordered the UV lamp from us, the package includes a 3D-printed stand with the lamp pre-installed. Snap the remaining parts of the stand together, then place it securely on your work surface.
Please note that the UV lamp does not include a USB power adapter. You can power it with any USB phone charger or a computer USB port.
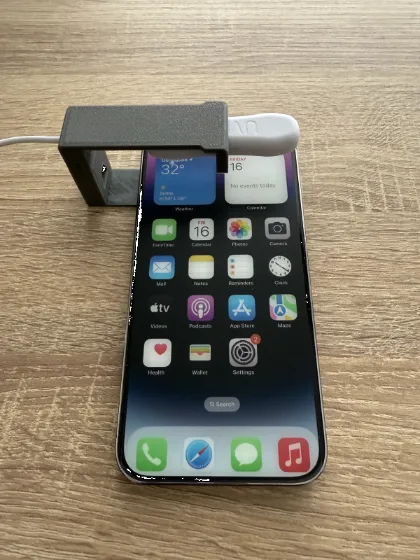
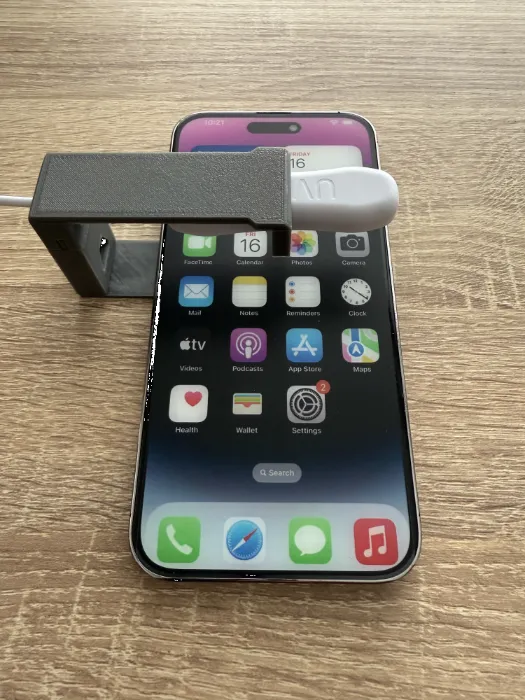
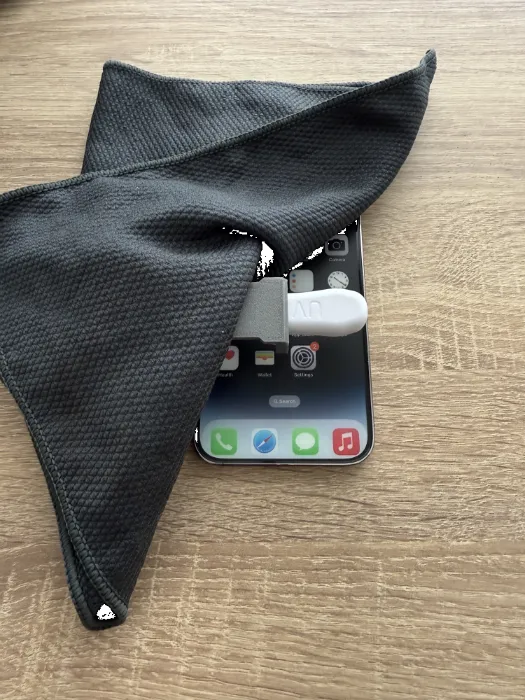
The entire surface of the film must be illuminated evenly. Place your phone on the stand as shown, then adjust the UV lamp so it covers the full width of the display. Perform the illumination in sections: divide the display into at least three parts (top, middle, bottom), and illuminate each section for 5 minutes. Reposition the phone during curing so every area receives enough UV light.
For the best result, perform the illumination in a darkened room, or cover the work area with a cloth during curing.
After illumination, the film gradually reaches its final hardness, which develops fully within about 48 hours.
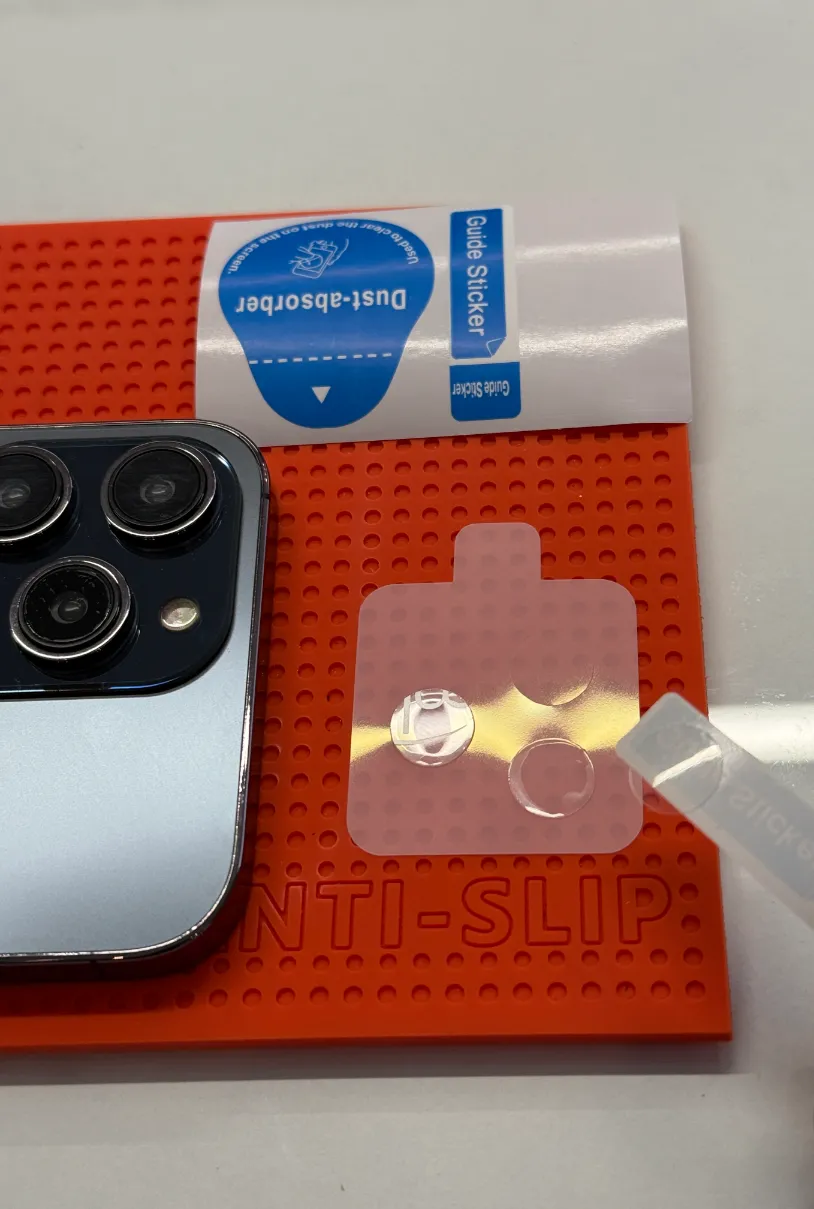
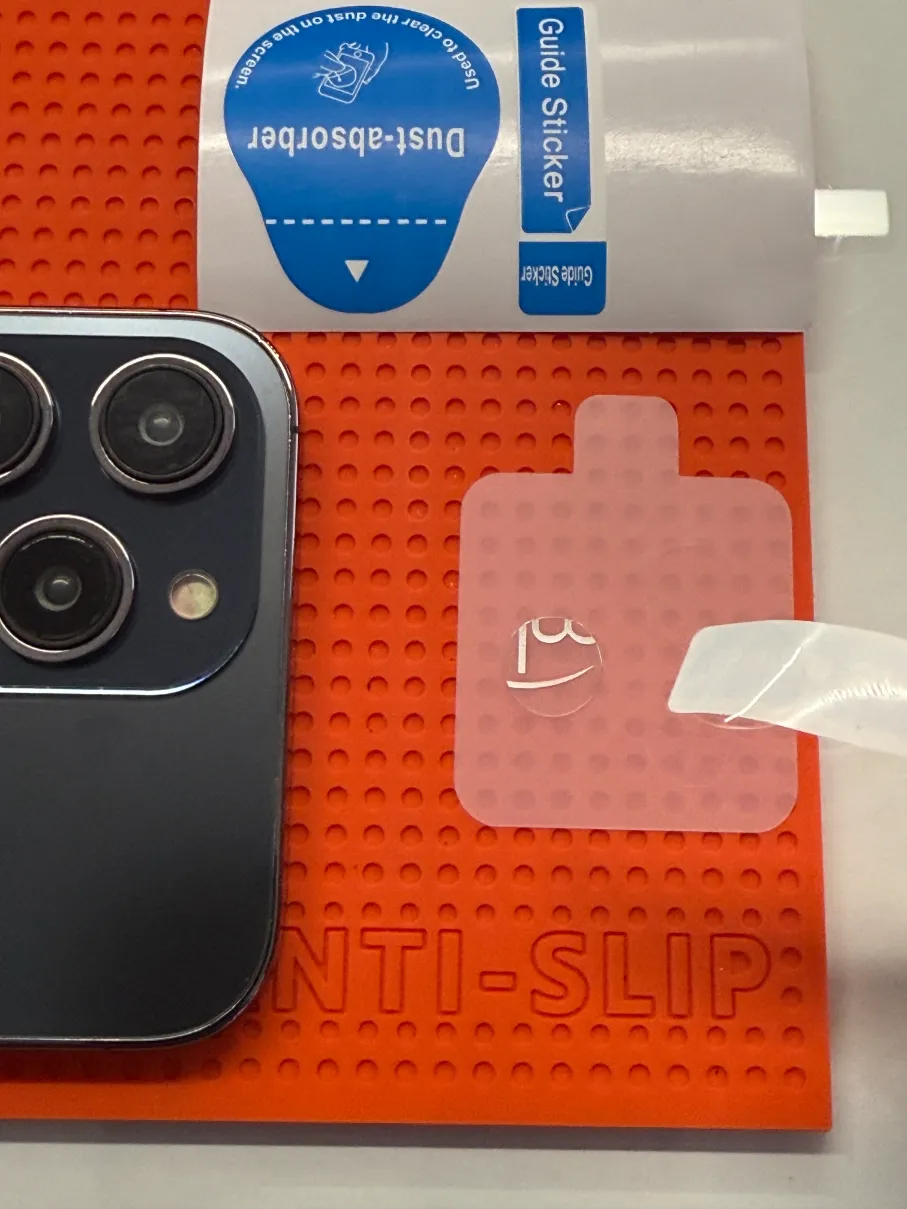
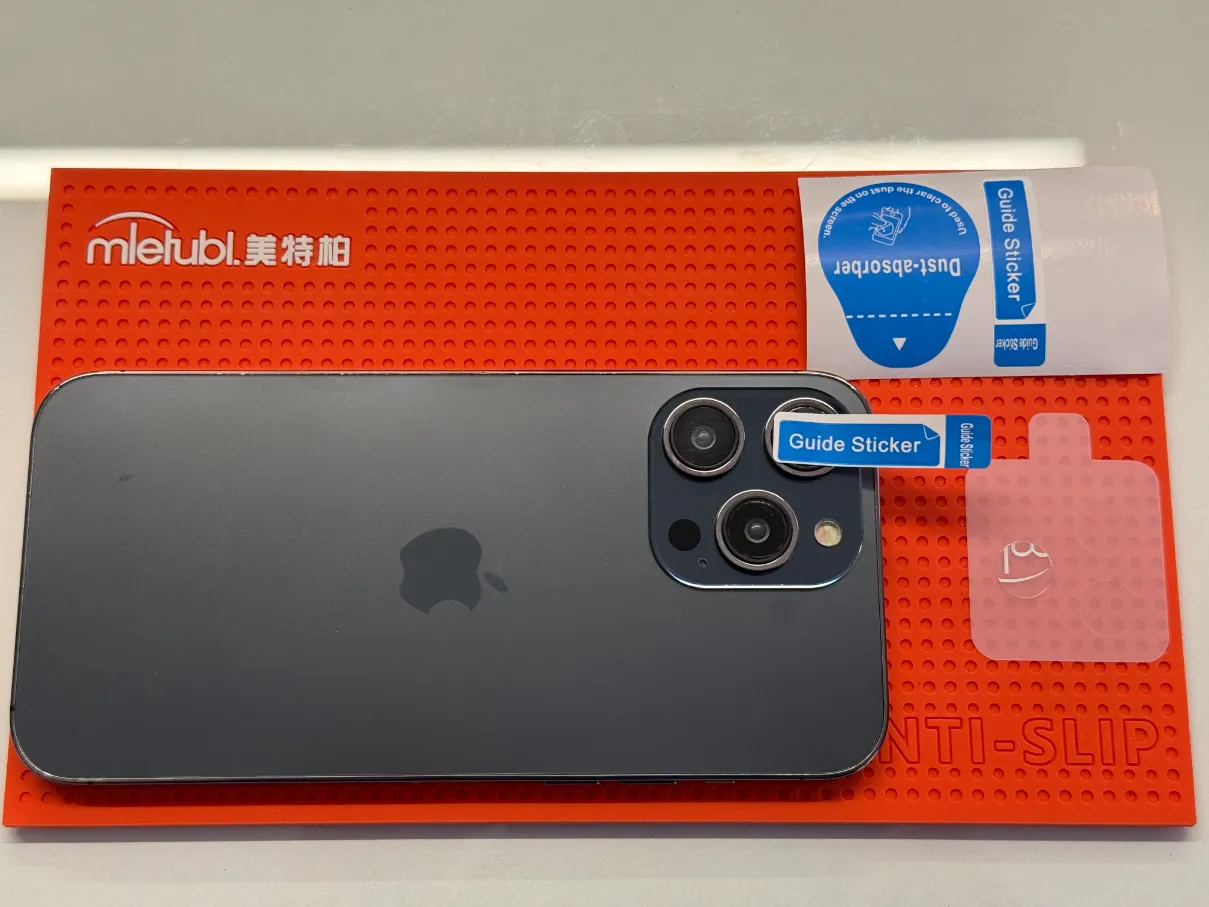
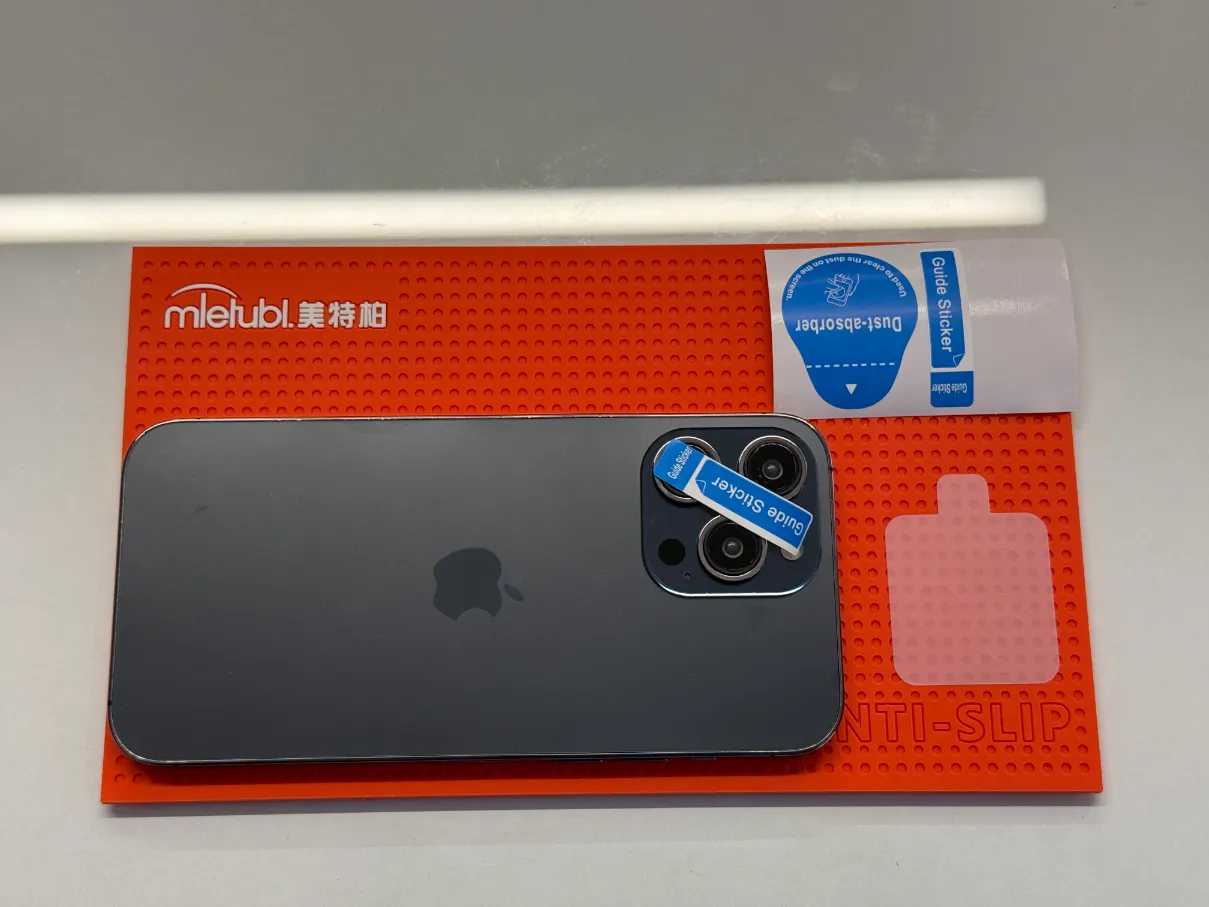
Thoroughly clean the lenses and the camera island. Using the positioning sticker, first remove the top protective layer, then place it back onto the hydrogel film.
Remove the hydrogel film from the carrier layer using the positioning sticker, then apply it to the lens. Repeat the process on the other lenses as well.
With professional installation, air bubbles will disappear on their own within 72 hours.
For camera island protective film, the installation process is the same as described above.
Yes. The display must be cleaned thoroughly and must be completely dry, dust-free and degreased before installation. Most installation problems happen because dust, grease or moisture remains under the film.
Do not remove the lower protective layer in advance. The back of the hydrogel film has a two-part lower protective layer. First align the film accurately on the display, then fold back or lift one side of the film: this is when the lower protective layer becomes exposed. Then smooth from the center outward while removing and applying that side, and repeat the same process on the other side.
Remove the transparent top protective layer only at the end, after the film has been fully smoothed down, the lower protective layers have been removed, and the film adheres properly across the display.
Small air bubbles, lines and marks created during installation may disappear within 24-48 hours. If dust or dirt is trapped under the film, it will not disappear, so thorough cleaning is essential.
UV hydrogel film is light-sensitive, so open the black UV-filter packaging only immediately before installation, and do not expose the film to sunlight before applying it. Cure the film in sections and never look directly into the UV light.
First clean the lenses and camera island thoroughly. Use the helper sticker to separate the correct layer, making sure no dirt gets onto the back of the hydrogel film, then align the film precisely on the lens or camera island. With proper installation, smaller air bubbles may disappear within 72 hours.